You’ve just spent weeks nurturing seedlings, only to watch them wilt and die from mysterious mold or pesky fungus gnats. I’ve been there too—staring at my tomato plants, defeated, until I realized the problem wasn’t me … it was the soil.
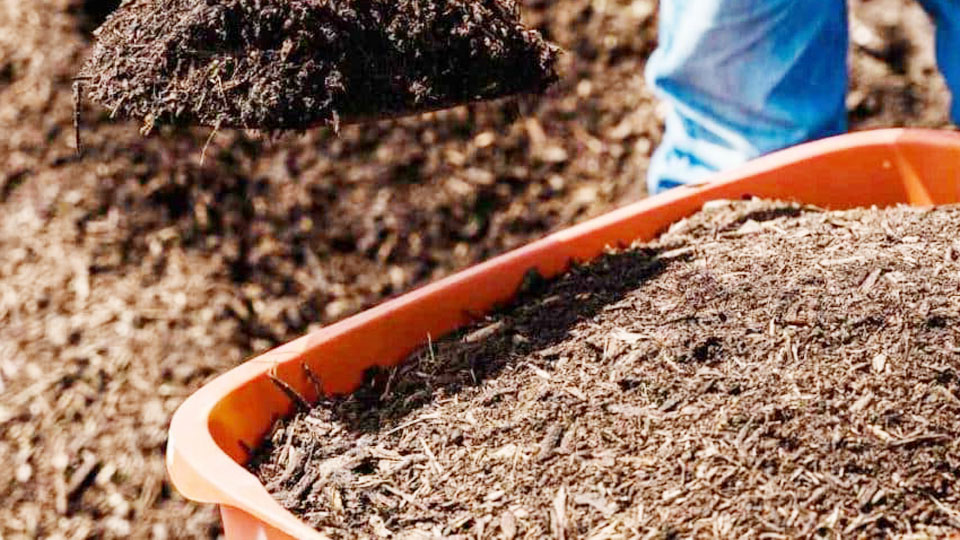
Image by gardeniaorganic
That’s when I discovered sterilizing soil with boiling water, a game-changer that saved my garden without harsh chemicals. Let me walk you through this easy, affordable method to reset your soil and give your plants a fresh start.
Why Sterilize Soil? The Hidden Enemies in Your Garden
Soil might look innocent, but it can harbor pests, weed seeds, and pathogens like fungi or bacteria. Sterilizing soil is like hitting a “reset” button. Here’s why it’s worth the effort:
- Kills Harmful Organisms: Fungus gnats, nematodes, and damping-off fungi don’t stand a chance.
- Eliminates Weed Seeds: Stop unwanted plants from hijacking your garden.
- Prevents Disease Spread: Protect seedlings from soil-borne illnesses like root rot.
I learned this the hard way after losing an entire tray of basil to mold. Now, I sterilize all my potting mix for seedlings.
Why Boiling Water? The Pros and Cons
Boiling water is my go-to method for small-scale sterilization. Here’s how it stacks up:
| Method | Boiling Water | Oven Baking | Chemical Sterilizers |
|---|---|---|---|
| Cost | Free | $ (energy) | $$ (products) |
| Safety | No toxins | Fire risk | Toxic fumes |
| Effectiveness | Good for small batches | Excellent | Overkill for home use |
| Soil Health | Preserves some microbes | Kills all microbes | Destroys ecosystem |
Boiling water is ideal for potting mixes, seed starters, or small raised beds. For large gardens, solarization (using the sun) works better.
Step-by-Step Guide to Sterilizing Soil with Boiling Water
What You’ll Need:
- A large pot or kettle
- Fresh water (avoid softened or salty water)
- Heat-resistant container (metal bucket, ceramic pot)
- Soil sieve or colander (optional)
- Oven mitts and a stirring stick
Step 1: Prepare the Soil
- Dry the Soil: Spread it in a thin layer on a tarp for 1–2 sunny days. Dry soil absorbs heat better.
- Remove Debris: Pick out sticks, rocks, or roots. I use an old pasta strainer for this.
Step 2: Boil the Water
- Bring water to a rolling boil. For every gallon of soil, use 1–2 quarts of water.
Step 3: Pour and Saturate
- Place soil in a heatproof container.
- Slowly pour boiling water over the soil, stirring to ensure even coverage.
- Aim for a “muddy” consistency.
Step 4: Cover and Steep
- Cover the container with a lid or foil to trap heat.
- Let it sit for 30 minutes. This ensures heat penetrates deep into the soil.
Step 5: Cool and Dry
- Remove the lid and let the soil cool completely.
- Spread it on a clean tarp to dry for 1–2 days before use.
Best Practices for Success
- Work in Small Batches: Boiling water cools quickly. Sterilize 1–2 gallons at a time.
- Use a Thermometer: Soil should reach 180°F (82°C) for 30 minutes to kill most pathogens.
- Rehydrate Carefully: After drying, mix in water gradually to avoid clumping.
Pro Tip: I reuse boiled water (once cooled) for houseplants—it’s free from chlorine!
What Boiling Water Doesn’t Kill
While boiling water is effective, it’s not a magic bullet. It won’t eliminate:
- Heat-Resistant Weed Seeds: Some seeds, like bindweed, survive extreme temps.
- All Bacteria: A few beneficial microbes might survive (which is good!).
- Chemical Residues: If soil has pesticides or pollutants, boiling won’t help.
For stubborn pests like root-knot nematodes, combine boiling water with solarization.
Restoring Soil Health After Sterilization
Sterilized soil is “empty”—it needs a microbiome reboot. Here’s how to revive it:
- Add Compost: Mix in 20% compost to reintroduce beneficial bacteria.
- Use Mycorrhizal Fungi: These root-boosting fungi are sold as powders or granules.
- Test pH: Sterilization can slightly acidify soil. Adjust with lime if needed.
I revived my sterile soil with worm castings, and my next batch of seedlings thrived.
FAQs About Sterilizing Soil with Boiling Water
How long does it take to sterilize soil with boiling water?
About 1 hour (including boiling, steeping, and cooling). Drying adds 1–2 days.
Can I reuse boiled water for multiple batches?
No—it loses heat and effectiveness. Start fresh each time.
Will boiling water make soil sterile forever?
No. Recontamination happens quickly. Use sterilized soil within a week.
Can I sterilize soil in the microwave?
Yes, but it’s risky. Moist soil can overheat and release toxins. Stick to boiling.
Does boiling water remove nutrients?
It can leach some nitrogen. Replenish with compost or fertilizer.
Can I use this method for outdoor garden beds?
It’s impractical for large areas. Use solarization (clear plastic tarps) instead.
Is boiled soil safe for edible plants
Yes! It’s chemical-free. Just rebalance nutrients before planting.
Why does my soil smell bad after boiling?
Anaerobic bacteria may develop if soil stays soggy. Dry it thoroughly.
Clever idea! Yes, but clean it thoroughly to avoid coffee residue.
Will boiling water kill earthworms?
Yes—remove worms first if you want to keep them.
Final Thoughts
Sterilizing soil with boiling water is like giving your garden a fresh canvas. It’s quick, safe, and perfect for small-scale gardeners tired of battling invisible enemies.
My basil seedlings went from wilted to thriving once I started this routine. Healthy soil is the foundation of every great garden. Boil away the bad, nurture the good, and watch your plants flourish.
Got a soil horror story or success tip? Share it below—I’d love to hear how your garden grows!

I’m Marissa Lynn, the proud author behind GardeningProperty.com! With a deep-rooted passion for all things green and growing, I’ve dedicated years to mastering the art and science of gardening.
From nurturing vibrant flowerbeds to cultivating thriving vegetable gardens, I love sharing practical tips, creative ideas, and proven techniques to help others create their dream outdoor spaces.