If you’re anything like me, you’ve probably found yourself dreaming about growing fresh herbs, vegetables, or flowers right in your backyard or on your patio. A raised garden bed is an excellent way to make that happen. And if you’re tight on space or want to avoid bending over constantly, building one with legs is a perfect solution. The good news? It doesn’t have to cost a fortune.
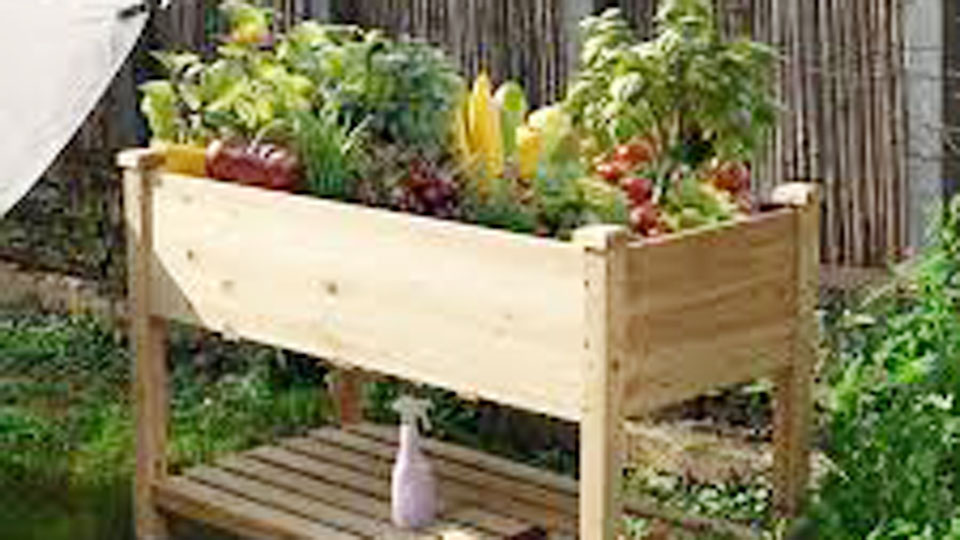
Image by veikous
I’ve had the chance to experiment with different DIY garden beds, and building a raised garden bed with legs is one of the most rewarding projects I’ve tackled. I’ll guide you step-by-step on how to build a raised garden bed cheap with legs, using simple materials and tools that are easy to find.
Why Build a Raised Garden Bed with Legs?
Before diving into the how-to, let’s talk about why you might want to go for a raised garden bed with legs. For me, the biggest reasons were convenience and aesthetics.
- Ease of Use: A garden bed with legs is elevated, which means no more bending over and straining your back while gardening.
- Space-Saving: It’s perfect for small yards, patios, or balconies. You can even place it over existing grass or a hard surface.
- Better Drainage: Elevated beds offer excellent drainage, reducing the risk of overwatering.
- Affordable and Customizable: Building one yourself allows you to control the size, style, and cost.
Materials You’ll Need
When building a raised garden bed cheaply, the key is to use materials that are affordable but durable. Here’s what you’ll need:
Wood Options
- Untreated pine or cedar (cedar is naturally resistant to rot but may cost a bit more).
- Pallets or reclaimed wood (great for budget-friendly builds).
Additional Materials
- Screws or nails.
- Drill or hammer.
- Wood glue (optional for added stability).
- Landscape fabric or weed barrier.
- Paint or wood sealant (if you want to protect the wood from the elements).
For the Legs
- 2x4s or repurposed wooden table legs.
- Metal brackets for extra support (optional).
Tools
- Saw (hand saw or electric).
- Measuring tape.
- Screwdriver or drill.
- Sandpaper.
Steps to Build a Raised Garden Bed with Legs
Let me walk you through the process step by step. Trust me, it’s easier than it sounds, and the result will be worth it!
Step 1: Plan Your Garden Bed
First, decide on the size of your garden bed. A standard size is about 3 feet by 4 feet, which is manageable for most spaces. The depth should be at least 8-12 inches to accommodate plant roots.
You’ll also want to determine the height of the legs. I recommend a height of 24-36 inches, so it’s comfortable to work on while standing.
Step 2: Cut Your Wood
Measure and cut your wood according to your desired dimensions. For example, if you’re building a 3×4 bed:
- Cut two pieces for the long sides (4 feet each).
- Cut two pieces for the short sides (3 feet each).
- Cut four pieces for the legs (2-3 feet each, depending on your preferred height).
Sand down the edges of the wood to prevent splinters.
Step 3: Assemble the Frame
Lay out the long and short pieces to form a rectangle. Use screws or nails to attach the pieces together. A drill makes this process much faster and ensures a secure fit.
For added stability, you can use corner brackets inside the frame.
Step 4: Attach the Legs
Position the legs at each corner of the frame and attach them using screws. Make sure the legs are even to avoid wobbling.
If you’re using thin wood for the legs, consider adding cross braces between the legs for extra support.
Step 5: Add a Base
To hold the soil in place, attach a base to your garden bed. You can use plywood or slats of wood with small gaps in between for drainage.
Line the base with landscape fabric to prevent soil from escaping while allowing water to drain.
Step 6: Treat the Wood
If you’re using untreated wood, apply a non-toxic sealant or paint to protect it from moisture and rot. This is especially important if the bed will be exposed to rain or harsh sunlight.
Filling and Planting
Now that your raised garden bed with legs is built, it’s time to fill it with soil and start planting!
Step 1: Choose the Right Soil
A good mix includes garden soil, compost, and organic matter. This ensures your plants get the nutrients they need.
Step 2: Layer Your Bed
Start with a layer of small stones or gravel for drainage. Then, add your soil mix, leaving about 2 inches of space at the top.
Step 3: Plant Your Garden
Choose plants suited to your climate and sunlight conditions. Herbs, leafy greens, and flowers are excellent choices for a beginner-friendly raised bed.
Cost Breakdown: Building a Cheap Raised Garden Bed
Here’s an example of a cost breakdown to give you an idea of how affordable this project can be:
| Material | Estimated Cost |
|---|---|
| Wood (reclaimed or new) | $10-$30 |
| Screws or nails | $5-$10 |
| Landscape fabric | $5-$10 |
| Wood sealant | $10-$15 |
| Tools (if not already owned) | $0-$50 (one-time purchase) |
| Total | $30-$60 |
Tips to Save Money
- Use Recycled Materials: Look for free pallets or scrap wood from local businesses.
- Shop Sales: Keep an eye out for discounts at hardware stores.
- Borrow Tools: If you don’t have tools, see if a friend or neighbor can lend you some.
- DIY Legs: Repurpose old furniture legs or leftover wood instead of buying new materials.
Benefits of Building Your Own Raised Garden Bed
I can’t stress enough how rewarding it is to build your own garden bed. Not only does it save money, but it also allows you to customize the design to fit your space and style. Plus, the satisfaction of growing your own plants in something you built yourself is unbeatable.
Conclusion
Building a raised garden bed cheap with legs is a fantastic project for anyone looking to grow their own plants without spending a fortune.
By using affordable materials and following the steps outlined above, you can create a sturdy, functional, and attractive garden bed that fits perfectly in your space.
If you’re a gardening novice or a seasoned pro, this DIY project is a great way to elevate your gardening experience—literally! So gather your tools, roll up your sleeves, and get started. Trust me, once you see your plants thriving in their new home, you’ll be glad you did.
FAQs
How deep should a raised garden bed be?
It should be at least 8-12 inches deep to accommodate plant roots.
What type of wood is best for raised garden beds?
Cedar is ideal because it’s naturally rot-resistant, but pine or reclaimed wood can also work for budget-friendly options.
Do I need to line my raised garden bed?
Yes, lining it with landscape fabric or weed barrier helps prevent soil loss and improves drainage.
Can I build a raised garden bed without legs?
Absolutely! A traditional raised bed placed directly on the ground is another great option.
What plants grow well in raised garden beds?
Herbs, vegetables, and flowers like tomatoes, lettuce, basil, and marigolds thrive in raised beds.

I’m Marissa Lynn, the proud author behind GardeningProperty.com! With a deep-rooted passion for all things green and growing, I’ve dedicated years to mastering the art and science of gardening.
From nurturing vibrant flowerbeds to cultivating thriving vegetable gardens, I love sharing practical tips, creative ideas, and proven techniques to help others create their dream outdoor spaces.