Growing a walnut tree in a container might sound like a challenge, but it’s absolutely possible with the right approach. I’ve always loved the idea of having nut trees in my garden, but not everyone has the space for a full-sized walnut tree.
That’s where container gardening comes in handy. Whether you’re working with a small backyard, a patio, or even a balcony, you can grow a walnut tree successfully in a pot.
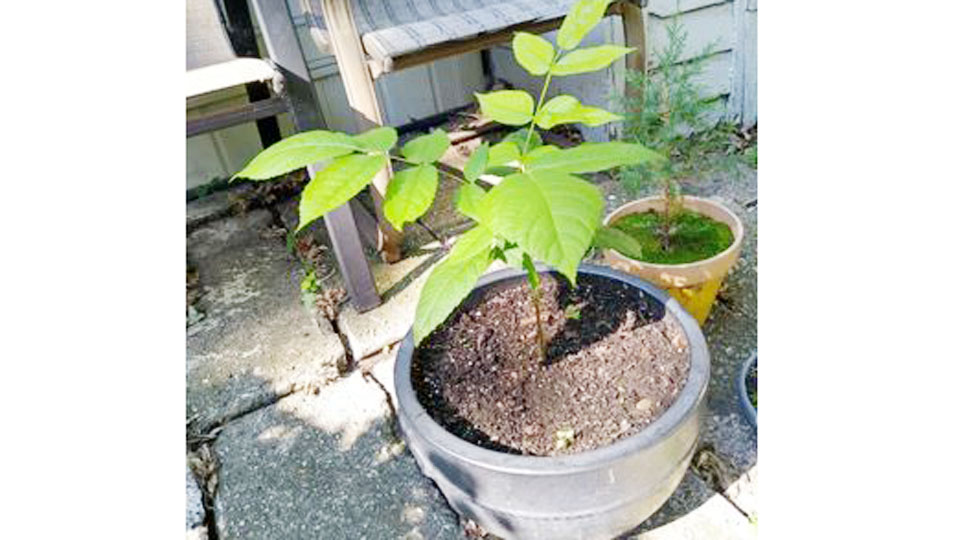
Image by reddit
When I first started growing walnut trees in containers, I had my doubts. Walnuts are known for their large size and deep root systems.
With patience and the right techniques, I discovered that they can thrive in pots, producing beautiful foliage and, eventually, delicious walnuts.
If you’re wondering how to grow a walnut tree in a container, I’m here to guide you through the process step by step.
Choosing the Right Walnut Tree Variety
Not all walnut trees are suitable for container gardening. Since standard walnut trees grow very tall with deep roots, the best choice is a dwarf or semi-dwarf variety. These trees are bred to be smaller, making them ideal for growing in pots.
Here are some good options:
- Dwarf English Walnut (Juglans regia ‘Dwarf’) – A compact variety that produces high-quality walnuts.
- Black Walnut (Juglans nigra ‘Compacta’) – A smaller version of the traditional black walnut tree.
- Northern California Black Walnut (Juglans hindsii) – A good option for those in warmer climates.
If you’re not sure which variety to choose, I’d recommend the dwarf English walnut. It’s easier to manage in a container and produces excellent nuts.
Selecting the Right Container
Since walnut trees develop extensive root systems, choosing the right pot is crucial. The container must be large enough to allow healthy root growth while providing good drainage.
Here’s what to look for in a container:
- Size – At least 15-20 gallons in capacity to support long-term growth.
- Material – Heavy-duty plastic, ceramic, or wooden containers work best. Avoid thin plastic pots, as they may crack over time.
- Drainage – Make sure the container has multiple drainage holes to prevent waterlogging.
I personally prefer using wooden half-barrels because they provide good insulation and look great in the garden. If using plastic, go for UV-resistant options to withstand the elements.
Choosing the Best Soil for Walnut Trees
Walnut trees need well-draining, nutrient-rich soil to grow well in containers. I always use a mix of:
- 60% loamy potting soil – Provides nutrients and retains moisture.
- 30% sand or perlite – Improves drainage and prevents root rot.
- 10% compost or aged manure – Adds essential nutrients for healthy growth.
Avoid using heavy garden soil, as it compacts over time and restricts root growth. A high-quality commercial potting mix with good aeration will work just fine.
Planting a Walnut Tree in a Container
There are two ways to grow a walnut tree in a container—from seed or from a young sapling.
Starting from Seed
Growing a walnut tree from seed takes patience, but it’s a rewarding experience. Here’s how I do it:
- Select Fresh Walnuts – Choose unshelled, untreated walnuts from a reliable source.
- Cold Stratification – Walnuts need a chilling period to sprout. Place the nuts in a damp paper towel, seal them in a plastic bag, and refrigerate for 3-4 months.
- Planting – After stratification, plant the nuts 1-2 inches deep in the container with the pointed end facing down.
- Watering – Keep the soil moist but not soggy. Germination can take several weeks.
Starting with a Young Tree
If you want faster results, buy a nursery-grown walnut sapling. Here’s how to plant it:
- Prepare the Container – Fill the pot with your prepared soil mix.
- Plant the Tree – Place the sapling in the center and gently spread out the roots.
- Backfill with Soil – Cover the roots with soil, pressing down lightly to remove air pockets.
- Water Thoroughly – Give the tree a deep watering to help it settle in.
A sapling will establish much faster than a seed and may start producing nuts within a few years.
Watering and Fertilizing
Walnut trees need consistent moisture, but they don’t like soggy roots. I follow a simple routine to keep mine healthy:
- Watering – Water deeply once or twice a week, allowing the top inch of soil to dry out between waterings.
- Mulching – Adding a layer of mulch on top helps retain moisture and regulate temperature.
As for feeding, walnut trees are heavy feeders and need regular fertilization. I use:
- Balanced fertilizer (10-10-10) in spring and summer for steady growth.
- Bone meal or phosphorus-rich fertilizer before flowering to encourage nut production.
Avoid excessive nitrogen, as it promotes leafy growth at the expense of nuts.
Pruning and Maintenance
Since walnut trees can grow quite large, pruning is necessary to keep them manageable in a container. I prune my tree in late winter or early spring before new growth starts.
- Remove dead or weak branches to improve airflow.
- Trim back the central leader to maintain a compact shape.
- Thin out excess branches to allow sunlight to reach all parts of the tree.
Regular pruning keeps the tree healthy and encourages better nut production.
Protecting Your Walnut Tree
Walnut trees in containers can be more vulnerable to temperature changes and pests. Here’s how to keep them safe:
- Winter Protection – If you live in a cold region, wrap the pot in burlap or move it to a sheltered area during winter.
- Pest Control – Watch out for aphids, caterpillars, and walnut husk flies. Neem oil or insecticidal soap works well for prevention.
- Disease Prevention – Fungal diseases like walnut blight can be prevented by keeping the foliage dry and ensuring good air circulation.
Harvesting Walnuts from a Container-Grown Tree
If you’re patient, your tree will eventually reward you with homegrown walnuts! Most container-grown walnut trees start producing nuts in 4-6 years.
- When to Harvest – Walnuts are ready when the outer green husk starts splitting and turning brown.
- How to Harvest – Wear gloves (walnut husks stain hands!) and remove the nuts by gently twisting them off the tree.
- Drying and Storing – Spread the nuts in a dry, well-ventilated area for 2-3 weeks before cracking them open.
Common Challenges and Solutions
| Problem | Solution |
|---|---|
| Yellowing leaves | Check for overwatering or nutrient deficiency. Adjust watering and fertilize as needed. |
| Slow growth | Ensure the tree gets at least 6-8 hours of sunlight daily. |
| Root-bound tree | Repot the tree into a larger container every few years. |
| No nuts forming | The tree may need cross-pollination. Consider adding a second walnut tree nearby. |
Conclusion
Growing a walnut tree in a container is an exciting and rewarding experience. While it requires a bit of patience and care, the results are well worth the effort.
With the right variety, proper soil, and regular maintenance, your potted walnut tree can thrive and eventually produce delicious nuts.
If you have a small backyard or a sunny balcony, you can enjoy the beauty of a walnut tree right at home. Give it a try, and you’ll be amazed at how well it grows in a container!
FAQs
Can a walnut tree survive in a container long-term?
Yes, but it will need periodic repotting to prevent becoming root-bound.
How long does it take for a potted walnut tree to produce nuts?
Most container-grown walnut trees start producing in 4-6 years.
Can I grow a walnut tree indoors?
Walnut trees need full sun, so they are best grown outdoors or in a greenhouse.
What is the best time to plant a walnut tree in a container?
Spring or early fall is the best time for planting.
How do I know when walnuts are ready to harvest?
When the outer husk splits and turns brown, the nuts are ready to pick.
Growing a walnut tree in a container is a fun and fulfilling project. Give it a shot, and soon, you’ll have your very own homegrown walnuts!

I’m Marissa Lynn, the proud author behind GardeningProperty.com! With a deep-rooted passion for all things green and growing, I’ve dedicated years to mastering the art and science of gardening.
From nurturing vibrant flowerbeds to cultivating thriving vegetable gardens, I love sharing practical tips, creative ideas, and proven techniques to help others create their dream outdoor spaces.