Planting sprouted potatoes indoors is one of the easiest and most rewarding ways to grow your own fresh produce year-round. If you’ve ever reached into your pantry and found potatoes with long sprouts, don’t throw them away!
Those sprouted potatoes are ready to be planted and can give you a continuous supply of homegrown spuds, even if you don’t have a backyard garden.
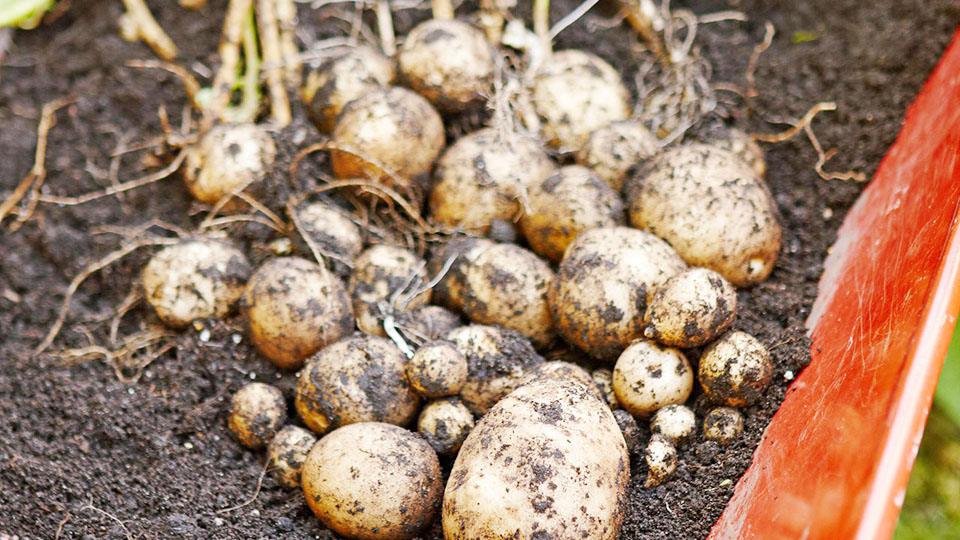
Image by bhg
I’ve personally grown potatoes indoors, and I can tell you it’s simpler than you might think. With the right setup, you can enjoy fresh, homegrown potatoes straight from a container in your kitchen or a sunny windowsill.
If you’re a beginner or an experienced gardener, I’ll walk you through everything you need to know about planting and caring for sprouted potatoes indoors.
Choosing the Right Potatoes for Planting
Not all potatoes are ideal for indoor growing. If you’re using store-bought potatoes, make sure they are organic because many conventional potatoes are treated with sprout inhibitors that can slow or stop their growth.
The best option is certified seed potatoes, which are specifically meant for planting and are disease-free.
When selecting potatoes to plant, look for these qualities:
- Healthy, firm potatoes – Avoid mushy or rotten ones.
- Sprouts at least half an inch long – This indicates they are ready to grow.
- Multiple eyes (growth points) on each potato – More eyes mean more potential plants.
Preparing Sprouted Potatoes for Planting
Before you plant, you’ll need to prepare the potatoes to maximize their growth.
- Cut larger potatoes – If your sprouted potato is big, cut it into pieces, making sure each piece has at least 1-2 sprouts (or eyes).
- Let them dry – Place the cut pieces in a cool, dry spot for 24-48 hours. This helps form a protective layer over the cut surfaces, preventing rot.
- Don’t remove the sprouts – The sprouts are the beginning of your plant, so handle them gently.
Choosing the Best Container for Indoor Potatoes
Since potatoes grow underground, you’ll need a container that provides enough depth for them to develop properly. Here’s what to consider when choosing a container:
| Feature | Ideal Choice |
|---|---|
| Depth | At least 12-16 inches deep |
| Width | Wide enough to fit multiple plants (5-gallon bucket or larger) |
| Drainage | Holes at the bottom to prevent waterlogging |
| Material | Plastic, fabric, or ceramic pots work well |
Fabric grow bags are one of my favorite choices because they allow air to reach the roots, promoting healthier growth. However, large plastic or ceramic pots also work well.
Best Soil for Growing Potatoes Indoors
Potatoes thrive in loose, well-draining soil with good airflow. Avoid using garden soil because it can be too dense and may carry pests or diseases. Instead, use a mix of:
- Potting soil – Provides nutrients and good drainage.
- Compost – Enriches the soil naturally.
- Sand or perlite – Helps improve aeration and drainage.
A slightly acidic pH (5.5-6.5) is best for potato growth. If your soil is too alkaline, adding peat moss can help balance it.
How to Plant Sprouted Potatoes Indoors
Once you have your potatoes, container, and soil ready, it’s time to plant. Follow these steps for the best results:
- Fill the container – Add about 4 inches of soil to the bottom of your pot.
- Place the potatoes – Set the sprouted potatoes on top of the soil with the sprouts facing up. Space them about 4-6 inches apart.
- Cover with soil – Add 3-4 more inches of soil over the potatoes. Don’t bury them too deep at first, as they need warmth and light to start growing.
- Water lightly – Keep the soil moist but not soggy. Overwatering can cause rot.
- Provide warmth and light – Place the container in a warm location with at least 6-8 hours of indirect sunlight daily. If you don’t have enough natural light, a grow light can help.
Caring for Indoor Potatoes
Potatoes need proper care to thrive indoors. Here’s how to keep your plants healthy:
Watering
- Keep the soil consistently moist but never waterlogged.
- Water when the top inch of soil feels dry.
- Use a watering can or spray bottle to avoid disturbing the roots.
Fertilizing
- Use a balanced fertilizer every 2-3 weeks to support growth.
- Once plants start flowering, switch to a fertilizer higher in potassium, like seaweed extract, to help tuber development.
Hilling Up
Potatoes grow upwards, so as the plant grows, you’ll need to add more soil (a process called “hilling”) to encourage more tuber production.
- When the plant is 6-8 inches tall, add another 2-4 inches of soil around the stems, leaving the top leaves exposed.
- Repeat this process every few weeks until the soil reaches the top of the container.
Light Requirements
- Place near a south-facing window or use LED grow lights if needed.
- Keep the light source 12-16 inches above the plants for best results.
Temperature and Humidity
- Potatoes grow best in 60-70°F temperatures.
- Avoid placing them near heating vents or drafty windows.
How to Harvest Indoor Potatoes
You’ll know it’s time to harvest when the leaves and stems start to yellow and die back, usually around 10-12 weeks after planting.
- Early harvest (new potatoes): If you want small, tender potatoes, gently dig around the plant after 8 weeks and remove a few.
- Full harvest: Wait until the plant fully dies back. Dump out the container and collect your potatoes!
After harvesting, let the potatoes cure for a few days in a dark, cool place before storing them.
Common Problems and How to Fix Them
Growing potatoes indoors is easy, but you might run into a few issues. Here’s how to handle them:
| Problem | Cause | Solution |
|---|---|---|
| Sprouts growing long and weak | Not enough light | Move to a sunnier spot or use grow lights |
| Potatoes rotting in soil | Overwatering or poor drainage | Use well-draining soil and check moisture levels |
| Plants are tall but no potatoes | Too much nitrogen | Use a lower-nitrogen fertilizer |
| Small potatoes | Container too small or not enough hilling | Use a larger container and add more soil over time |
Conclusion
Planting sprouted potatoes indoors is an easy and rewarding way to grow fresh food at home. Whether you live in an apartment or just want to garden year-round, all you need is a container, some sprouted potatoes, and the right care.
The process is simple, and with a little patience, you’ll be able to enjoy homegrown potatoes right from your own indoor garden.
If you’ve never tried growing potatoes indoors, give it a shot! It’s a great way to make use of sprouted potatoes that would otherwise go to waste. Plus, there’s nothing more satisfying than cooking with potatoes you’ve grown yourself.
Frequently Asked Questions
Can I grow potatoes indoors year-round?
Yes! As long as they get enough light and warmth, you can grow them any time of the year.
How many potatoes can I get from one plant?
Each plant can produce anywhere from 3 to 10 potatoes, depending on the variety and care.
Do I need a big space to grow potatoes indoors?
No, you just need a deep enough container and a sunny spot.
How do I know when to harvest my potatoes?
When the plant’s leaves turn yellow and die back, it’s time to harvest.
Can I grow potatoes from supermarket potatoes?
Yes, but organic or seed potatoes are best because regular potatoes may be treated to prevent sprouting.
With the right setup, you can enjoy homegrown potatoes any time, no matter where you live!

I’m Marissa Lynn, the proud author behind GardeningProperty.com! With a deep-rooted passion for all things green and growing, I’ve dedicated years to mastering the art and science of gardening.
From nurturing vibrant flowerbeds to cultivating thriving vegetable gardens, I love sharing practical tips, creative ideas, and proven techniques to help others create their dream outdoor spaces.