If you’ve ever thought about starting composting at home but didn’t want to spend money on a fancy compost bin, let me tell you—you can make your own! One of the easiest and most affordable ways is by repurposing a plastic dustbin. It’s simple, effective, and a great way to reduce waste while creating nutrient-rich compost for your garden.
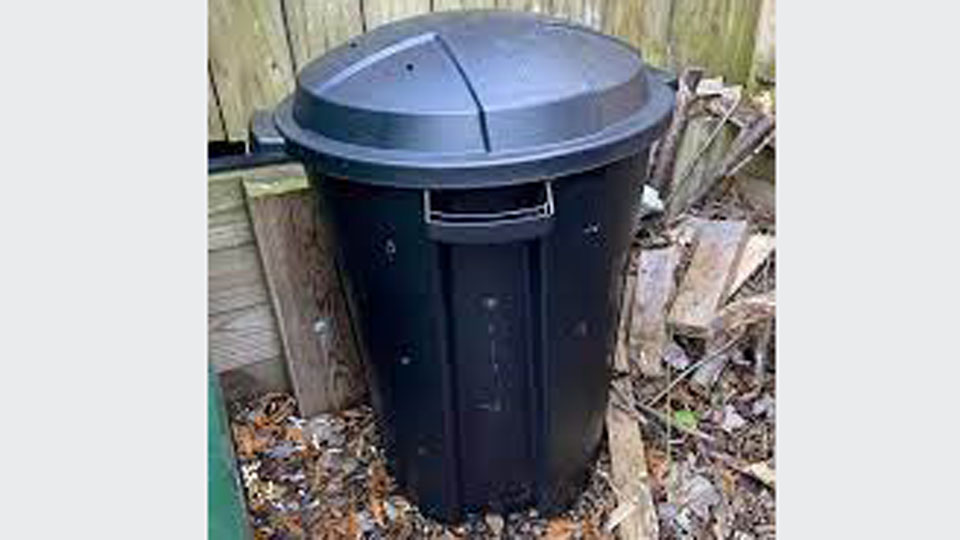
Image by reddit.com/r/composting
I’ll walk you through how to make a compost bin from a plastic dustbin. This is something I’ve done myself, and it’s a rewarding experience. Plus, it’s a fun project that anyone can try. Let’s get started!
Why Choose a Plastic Dustbin for Composting?
Using a plastic dustbin as a compost bin is not just cost-effective—it’s also an eco-friendly solution. Here are some reasons why it’s a great choice:
- Affordable: A plastic dustbin is inexpensive compared to store-bought compost bins.
- Durable: Plastic is weather-resistant and can last for years.
- Lightweight: It’s easy to move around, even when partially filled.
- Customizable: You can modify it to suit your composting needs.
If you already have an unused dustbin lying around, even better—you’re giving it a second life!
Materials You’ll Need
Before you start, gather the necessary materials. Here’s what you’ll need:
| Material | Purpose |
|---|---|
| A plastic dustbin (with a lid) | Serves as the main compost bin |
| Drill with bits | To create ventilation and drainage holes |
| Marker or pencil | To mark where holes will be drilled |
| Sandpaper | To smooth rough edges after drilling |
| Garden fork or stick | To mix and aerate the compost |
| Organic waste | The material to compost |
Step-by-Step Guide to Making Your Compost Bin
Step 1: Choose the Right Dustbin
The first step is to find a suitable plastic dustbin. Ideally, it should:
- Be at least 30–40 gallons in size.
- Have a tight-fitting lid to keep out rain and pests.
- Be made of sturdy plastic that can withstand outdoor conditions.
If the dustbin is new, give it a quick rinse to remove any residue before starting.
Step 2: Drill Ventilation Holes
Proper airflow is essential for composting, as it helps break down organic matter and prevents foul odors.
- Use a drill with a medium-sized bit (about ½ inch).
- Drill holes evenly around the sides of the dustbin, approximately 4–6 inches apart.
- Add a few holes on the lid to ensure air circulation.
Make sure the holes are not too large to keep pests like rodents from getting inside.
Step 3: Create Drainage Holes at the Bottom
Excess moisture can slow down the composting process and cause a soggy mess.
- Flip the dustbin over and drill several holes in the bottom.
- Space the holes evenly to allow water to drain out.
If you’re placing the bin directly on soil, the drainage holes will also let worms and other helpful organisms enter the bin.
Step 4: Smooth Rough Edge
After drilling, you may notice rough or jagged edges around the holes.
- Use sandpaper to smooth out these edges.
- This step is essential to prevent injuries when handling the bin.
Step 5: Position Your Bin
Choose a good location for your compost bin. It should be:
- Accessible: Easy to reach for adding waste and mixing.
- Shaded: Partial shade helps maintain a balanced temperature.
- Well-Drained: Avoid placing the bin in a low spot where water collects.
Placing the bin on bare soil is ideal, as it allows worms and microbes to access the compost. If you’re placing it on concrete, consider adding a tray underneath to catch any liquid.
Step 6: Start Adding Organic Waste
Now it’s time to fill your bin! Composting works best with a mix of “greens” and “browns.”
| Type | Examples | Purpose |
|---|---|---|
| Greens | Fruit peels, vegetable scraps, coffee grounds | Provide nitrogen for decomposition |
| Browns | Dry leaves, cardboard, newspaper | Add carbon and absorb moisture |
Alternate layers of greens and browns to maintain a balanced compost. Avoid adding meat, dairy, or oily foods, as these can attract pests.
Tips for Maintaining Your Compost Bin
Mix the Compost Regularly
Aerating your compost speeds up decomposition and prevents odors. Use a garden fork or stick to mix the materials every 1–2 weeks.
Monitor Moisture Levels
Your compost should feel like a damp sponge—not too wet or too dry. If it’s too dry, add water or more greens. If it’s too wet, add more browns like shredded newspaper.
Keep an Eye on Temperature
Composting generates heat as organic matter breaks down. If the bin feels warm inside, it’s a sign that decomposition is happening.
Be Patient
Composting takes time. Depending on the conditions, it can take 2–6 months to produce finished compost.
Benefits of DIY Composting
Creating a compost bin from a plastic dustbin offers several benefits:
- Reduces Waste: Diverts kitchen scraps and yard waste from landfills.
- Saves Money: Provides free, nutrient-rich compost for your garden.
- Eco-Friendly: Helps reduce greenhouse gas emissions.
- Easy to Manage: A homemade bin is simple to maintain and customize.
Some Mistakes to Avoid
While composting is straightforward, there are a few pitfalls to watch out for:
Adding Too Much of One Type of Material: Balance greens and browns to maintain the right carbon-to-nitrogen ratio.
Ignoring Odors: Bad smells are usually a sign of excess moisture or lack of aeration. Adjust the contents and mix more frequently.
Overfilling the Bin: Leave some space at the top for mixing and air circulation.
How to Use Your Finished Compost
Once your compost is dark, crumbly, and has an earthy smell, it’s ready to use! Here’s how:
- In the Garden: Spread compost around plants to improve soil quality.
- For Potting Mix: Mix compost with soil for indoor or outdoor planters.
- As a Mulch: Apply a layer of compost to retain moisture and suppress weeds.
Conclusion
Making a compost bin from a plastic dustbin is a simple and rewarding project that anyone can do. Not only does it help reduce waste, but it also provides rich, organic compost to nourish your plants. By following the steps outlined in this guide, you’ll be on your way to sustainable composting in no time.
Composting is all about balance and patience. Keep experimenting with what works best for you, and don’t be afraid to make adjustments along the way. You’ll feel great knowing you’re making a positive impact on the environment!
FAQs
Can I use any type of plastic dustbin for composting?
Yes, as long as it’s sturdy and has a lid. Avoid bins made of brittle or thin plastic.
How often should I mix the compost?
Every 1–2 weeks is ideal to aerate the contents and speed up decomposition.
What should I avoid adding to my compost bin?
Avoid meat, dairy, oily foods, and non-biodegradable materials like plastic.
Can I compost in the winter?
Yes, but the process may slow down due to lower temperatures. Adding more greens can help maintain activity.
How do I know when my compost is ready?
Finished compost is dark, crumbly, and smells earthy. It usually takes 2–6 months, depending on the conditions.

I’m Marissa Lynn, the proud author behind GardeningProperty.com! With a deep-rooted passion for all things green and growing, I’ve dedicated years to mastering the art and science of gardening.
From nurturing vibrant flowerbeds to cultivating thriving vegetable gardens, I love sharing practical tips, creative ideas, and proven techniques to help others create their dream outdoor spaces.